
Word - Proud
Technique - Paint - Masking Tape Background
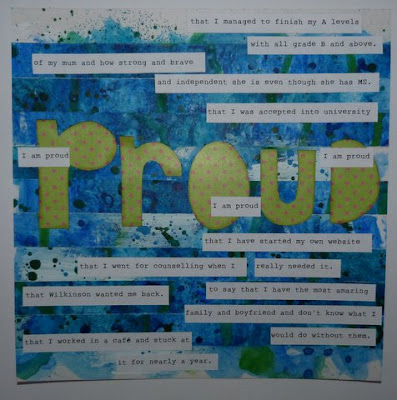
Here is my finished Layout.
Technique
This technique is all about creating a fun and unique background. You will need:
Masking Tape
A non porous surface
Paint/watercolours/mist sprays
Paint brushes
Card
Start by sticking strips of masking tape to your non-porous surface, I just used an old placemat, but you could use your craft mat, chopping board etc.
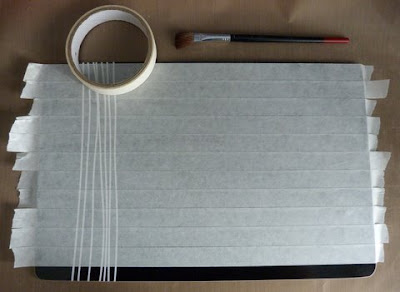
Try and place the strips as close together as possible without overlapping. Cover the surface until you have enough that it would cover the size of your finished layout (my finished layout measures 8"x8" but I made the masking tape strips longer so that I could then decide which section I wanted to use).
Now start painting away! I started by randomly applying some gesso (this is not essential) and letting it dry (ok well drying with my heat gun then!) then on top I started adding layers of different blue paints and mist sprays and dabbing the excess off with some tissue and letting some layers dry before applying the next.
I dribbled some green down the page and flicked my paint brush so I would get lots of dots and splodges!
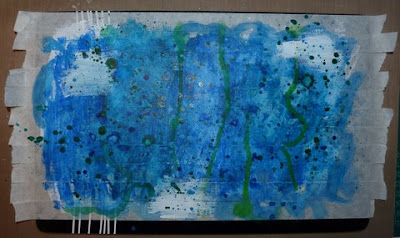
The more layers and messier you make the page the more varied your finished background will be; a more even paint coverage will create a more uniform background.
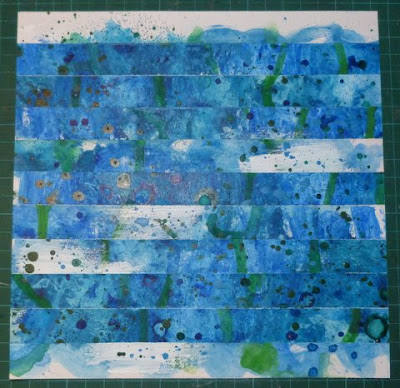
Once all the paint is dry take some card the size you want the finished piece to be. Starting at the top of your cardstock select a random piece of masking tape and stick down. Then select another random strip and stick under the first, continue covering the cardstock with the masking tape strips but arranging them in a different order than on your placemat. This will create a unique and pretty background and no 2 will ever be the same! Trim the tape from the edges and your background is complete.
 Now take some letter stickers or cut a title out of patterned paper and stick in the middle of your background. Finally add words, sentences, bullet points etc of what your proud of. I printed mine using a Typewriter type font (Rough_Typewriter which is free and can be found here) onto plain white paper and cut into strips to add to my layout. I left mine at that but you can of course add extra embellishments if you want.
I hope you have enjoyed this little extra project and have had fun with all our painty layouts and journal pages this month. Watch out for our next technique on Sunday!
Maxine
Love this page!
ReplyDelete